 As I got another CyberPower UPS for my devices, I again decided to use a custom card to connect it to my computer. However, using my existing PCB was a no-go as chip shortage meant my bellowed Si8621 was unobtanium again. Well, I guess it was time to have it redesigned anyhow...
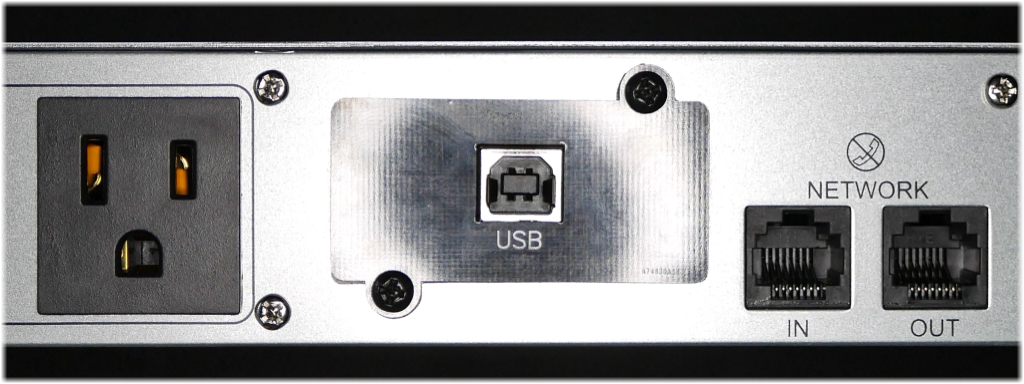
For those joining the party late, this custom card is intended for the CyberPower expansion slot thus allowing for a more direct query and control interface than what you usually get from the 1U UPS range. Benefit of this approach is that you can script whatever support you want for you operating system without having to deal with CyberPower's software (or, in case of Linux, lack there of).
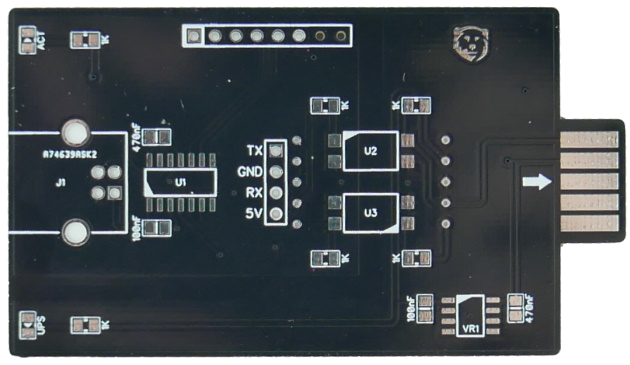
Fortunate for me, PCBgogo was interesting in sponsoring some boards so I went onto designing the new version. This included cleaning board a bit, swapping controller into an easier-to-solder SOIC package, and lastly swapping the digital isolator for some optocouplers.
Optocouplers actually fit this project rather well as UART signal is inverted on UPS side and speed is low enough (2,400 baud) that selection process almost doesn't matter. From previous projects I had some LTV-817S optocouplers that are still both cheap and easily obtainable. Even better, there are a few other optocouplers in the same 4-pin package so there is little risk of not finding a replacement if needed.
With all changes done, I went onto PCBgogo to order some boards and was greeted by an interface really similar to what I saw before with other PCB houses. It seems they all share the same web guy. :)
This board didn't need much so I stayed with normal FR4 but those playing with high power LEDs might be interested in aluminium or copper substrate.
Color selection was reasonable with "normal" colors only affecting manufacturing time (green was the fastest) while there was an extra charge for matte variants. At least it was so at the time I did the original order. When I look at it now, there seems to be a premium for anything other than green (that has a $5 special price).
 Lead HASL finish comes standard while all other surfaces are available at extra expense. I might be spoiled brat but I would love to have ENIG. And, while ENIG is one of the options, paying $40+ is way too expensive in my opinion. And yes, for this board it really doesn't matter. But if you go to SSOP and smaller, ENIG is god-given.
Once order was made, the gerber files were manually inspected by a real person. As it happens, my board actually had a paste mask incorrectly set above one pad and they actually caught it. All got sorted over email with PCBgogo manually applying corrections. Nice extra!
The finished PCB arrived reasonably quickly (especially since I wanted the cheapest shipping) and I have no complaints there. PCBs came vacuum packaged which was probably not necessary for their health but nice anyhow. The edges were properly cleaned up and board was quite leveled despite being only HASL. It seems to me that all PCB manufacturers pretty much solved HASL these days.
Interestingly I received one extra PCB in my package which reminded me of old times when manufacturers would do this just in case one of the boards was faulty (electronics version of baker's dozen, I guess). With PCBgogo this wasn't a case and all boards were in perfect working condition.
When looking boards sideways, I was surprised to see (at least) two slightly different FR4 substrates indicating either two manufacturing lines or two different manufacturers. Soldermask color was the same for all boards so I suspect it's the former but I don't recall ever noticing a substrate difference with any other board house. Regardless, if the exact substrate is important for your board, I suspect you would go for at least "impedance control" option.
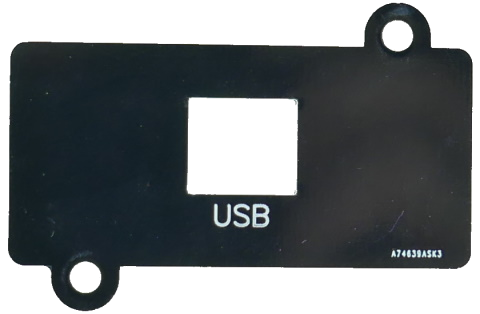 In addition to the PCB I also got cover and there lies my major complaint - the dreadful PCB order number. Instead of placing it on the back, it got silkscreened right on the front of the board. Since human was involved in the review, I hoped to a more sensible placement on something that's obviously a front panel. In their defense, they do offer an option to remove it if you leave a note and this seems to be offered at no extra cost. Just be careful not to forget writing it in.
With all components soldered, I got the board into my new UPS. Worked like a charm.
Please note I have received PCBs for this project for free from PCBgogo. They didn't request anything specific for me to say and all opinions given here are mine and mine alone.
PS: You can see the latest version of the board on GitHub. The latest version actually gets rid of voltage regulator too so it's as simple as it gets now.