 I needed a cheap power supply for a project and it was easy to find a nice one in A-BFastiron SS-305MP. It was small enough, looked good, and had shiny display. What could man want more?
Well, how about proper binding posts?
And no, I am not only talking about quality albeit one coming with it are quite flimsy and it already arrived with one cracked. I am talking about spacing. I simply hate when binding posts don't observe standard ¾" distance between them.
And this power supply almost had it right. I measured spacing to be a smidgen over 20 mm while standard would call for 19.05 mm. With such a small difference, there was literally no reason to go non-standard. But non-standard they went.
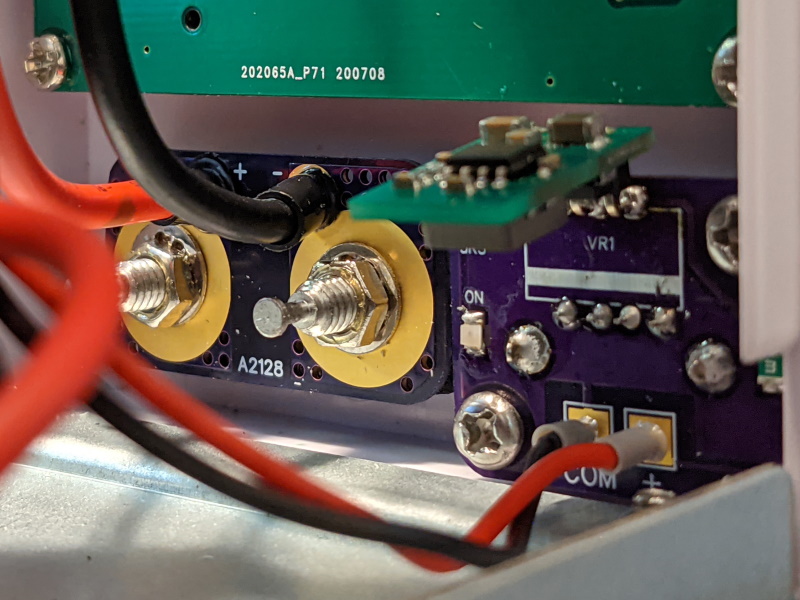
If you open the power supply, you'll see that binding posts are held by the PCB in the back. Thick wires are soldered onto it and nuts are used to connect to posts themselves. So the whole operation can be done with a simple PCB update with correct spacing. Only thing needed extra is a bit of filing action and you can reassemble it all.
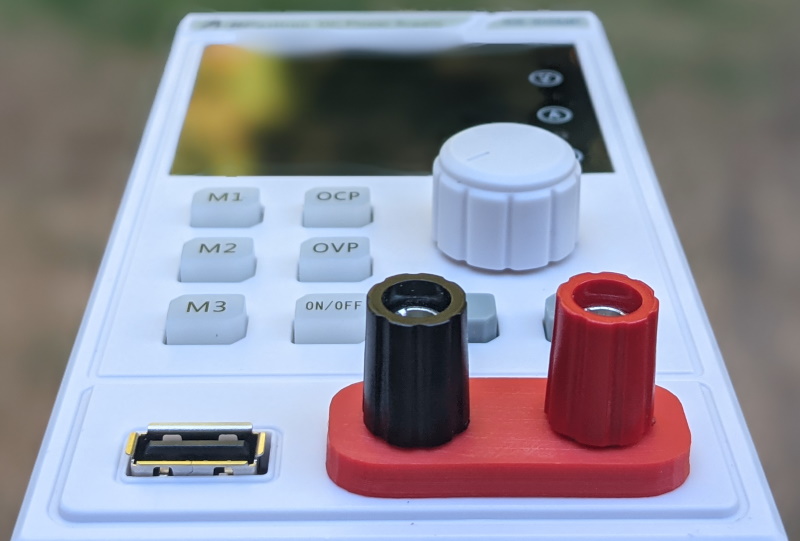
However, since my binding post was already cracked, I decided to swap them for Pomona 3760 (black and red) set. But that brought another issue - panel cutout for them is completely different. And yes, a patient man might shape it enough, but for those with 3D printer there's an easier solution.
 To mount it all, I used some nice red MH Build PLA to print really tight mounting base and spacer for posts.
After filing plastic a bit to expand holes toward each other, I placed binding posts into the printed base, pushed it through the hole, used another 3D printed spacer on inside and added some more height to set using spacers that came with binding posts themselves. Then in goes the custom PCB and finally all can be fastened using lock washer and nut that cane with posts.
Result are nice binding posts at proper spacing. :)
On GitHub you'll find source files and releases with gerbers and part list. 3D model can be found on TinkerCAD.
PS: The only downside of Pomona is that it uses ¼" imperial nuts while the power supply originally had 7 mm nuts. So, in addition to metric socket set you already have, you'll need a witchcraft-sized set too.