 I needed a cheap power supply for a project and it was easy to find a nice one in A-BFastiron SS-305MP. It was small enough, looked good, and had shiny display. What could man want more?
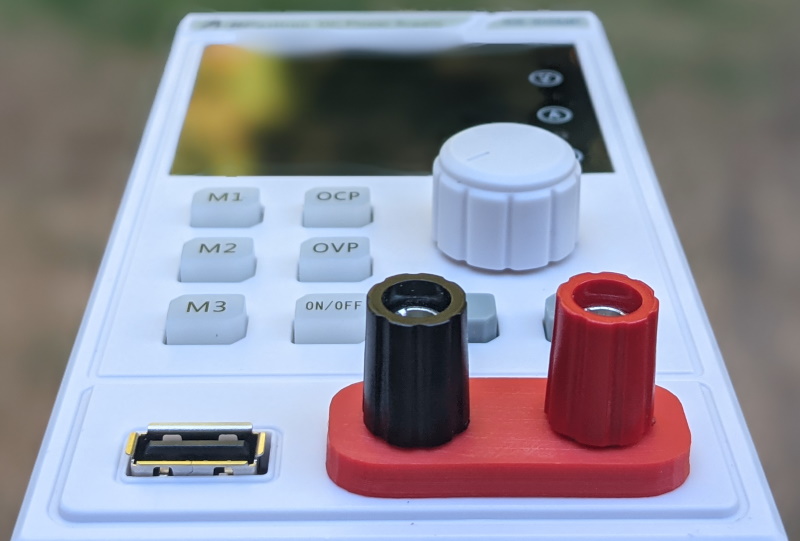
Well, when I got it and saw cutout for USB, I know what more I wanted. An USB port.
And strangely enough once you open the power supply, you'll find connector providing about 8.2 V already there without anything to plug into. It's almost as if somebody placed it there to be an input for 5V linear voltage converter and then later figured electronics and heatsinking would cost too much and covered the hole. And yes, it's a proper hole cover that you can remove - no drilling necessary.
If you open power supply you will even find standoffs already in place. It's simply begging to have PCB mounted in.
First thing to figure out was which USB connector will fit. Searching on DigiKey found quite a few of them roughly matching the dimensions. So I just selected the cheapest one that matched standard footprint. And yes, looking on side you might find it protruding a bit too much but not criminally so. It might be original designers were fine with this or the had a custom length connector in mind. For me this was as good as it gets.
With connector found, it was time to figure PCB. And I decided to keep it really simple. The whole setup would revolve around VXO7805-1000. It's a nice DC-DC switching regulator that will take any input higher than 8 V and drop it down to 5 V with some efficiency. In its pinout it emulates beloved LM7805 but at 90% efficiency and without all the heat.
Regulator itself requires just two capacitors and I decided to go just with them. I was tempted to add a smaller 1 µF capacitor to output and maybe even a 100 nF one for decoupling purposes but decided against it. Due to wide variety of cables and outputs USB device might face, all of them already have more than sufficient decoupling and adding more wouldn't really do anything. So why waste a component.
The only really unneeded components would be an LED and its accompanying resistor. While they serve no function, I really love to have an indicator of output. If there was ever an issue, looking at LED would at least tell me if power is going out. And quite often that's quite a big help.
Speaking of power going out, I don't consider a fuse optional. It's a minimum you need in this setup. Another thing I would consider bare minimum for power supply would be a short-circuit detection but that's fortunately already a part of voltage regulator. And yes, I could have gone further, especially by adding reverse polarity protection to the input and I was tempted but in reality you'll just connect this thing once and leave it connected. As long as you connect it correctly the first time, you're good.
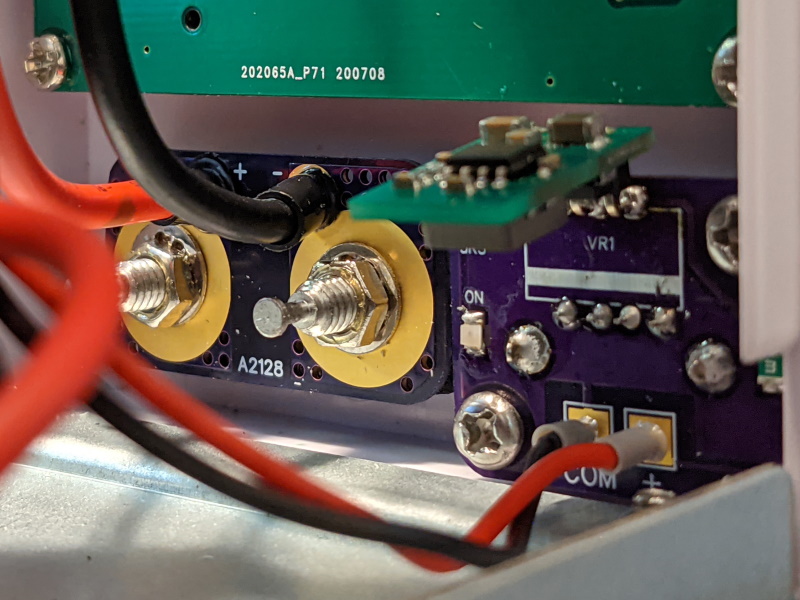 Connecting all this to the power is entrusted to any JST-XH 2-pin cable - 10 cm in length. Just make sure that the negative wire is going next to
 COM marking on the power supply motherboard. If in doubt, just double-check with voltmeter.
And that's it. For a few bucks more and some extra soldering, we have a nice 500 mA USB port at the front of the power supply. Just in case we need it.
On GitHub you'll find source files and releases with gerbers and part list.