 For the purpose of testing new stuff, it is always handy to have WordPress installation ready. And probably one of the cheapest ways to do so is to use one of virtual server providers - in my case it is Linode.
I won't be going into specifics of creating server on Linode as it is trivial. Instead, this guide starts at moment your CentOS is installed are you are logged in.
First of all, Linode's CentOS installation has firewall disabled. As this server will be open to public, enabling firewall is not the worst idea ever:
# systemctl start firewalld

# systemctl enable firewalld

# firewall-cmd --state
running
Next you need to install database:
# yum install -y mariadb-serverTo have database running as a separate user, instead of root, you need to add user=mysql in /etc/my.cnf. You can do that either manually or use the following command to the same effect:
# sed -i "/\[mysqld\]/auser=mysql" /etc/my.cnfNow you can start MariaDB and ensure it starts automatically upon reboot.
# systemctl start mariadb

# systemctl enable mariadb
Created symlink from …
I always highly advise securing database a bit. Luckily, there is a script for that. Going with defaults will ensure quite a secure setup.
# mysql_secure_installationA good test for MariaDB setup is creating WordPress database:
# mysql -e "CREATE DATABASE wordpress;"

# mysql -e "GRANT ALL PRIVILEGES ON wordpress.* TO 'username'@'localhost' IDENTIFIED BY 'password';"

# mysql -e "FLUSH PRIVILEGES;"
With database sorted out, you can move onto installation of PHP:
# yum install -y httpd mod_ssl php php-mysql php-gdWe can start Apache at this time and allow it to start automatically upon reboot:
# systemctl start httpd

# systemctl enable httpd
Created symlink from …
With all else installed and assuming you have firewall running, it is time to poke some holes through it:
# firewall-cmd --add-service http --permanent
success

# firewall-cmd --add-service https --permanent
success

# firewall-cmd --reload
success
If all went well, you can now see welcome page when you point your favorite browser to server IP address.
Now finally you get to install WordPress:
# yum install -y wget

# wget http://wordpress.org/latest.tar.gz -O /var/tmp/wordpress.tgz

# tar -xzvf /var/tmp/wordpress.tgz -C /var/www/html/ --strip 1

# chown -R apache:apache /var/www/html/
Of course, you will need to create initial file - sample is a good beginning:
# cp /var/www/html/wp-config-sample.php /var/www/html/wp-config.php
# sed -i "s/database_name_here/wordpress/" /var/www/html/wp-config.php
# sed -i "s/username_here/username/" /var/www/html/wp-config.php
# sed -i "s/password_here/password/" /var/www/html/wp-config.php
# while $(grep -q "put your unique phrase here" /var/www/html/wp-config.php); do
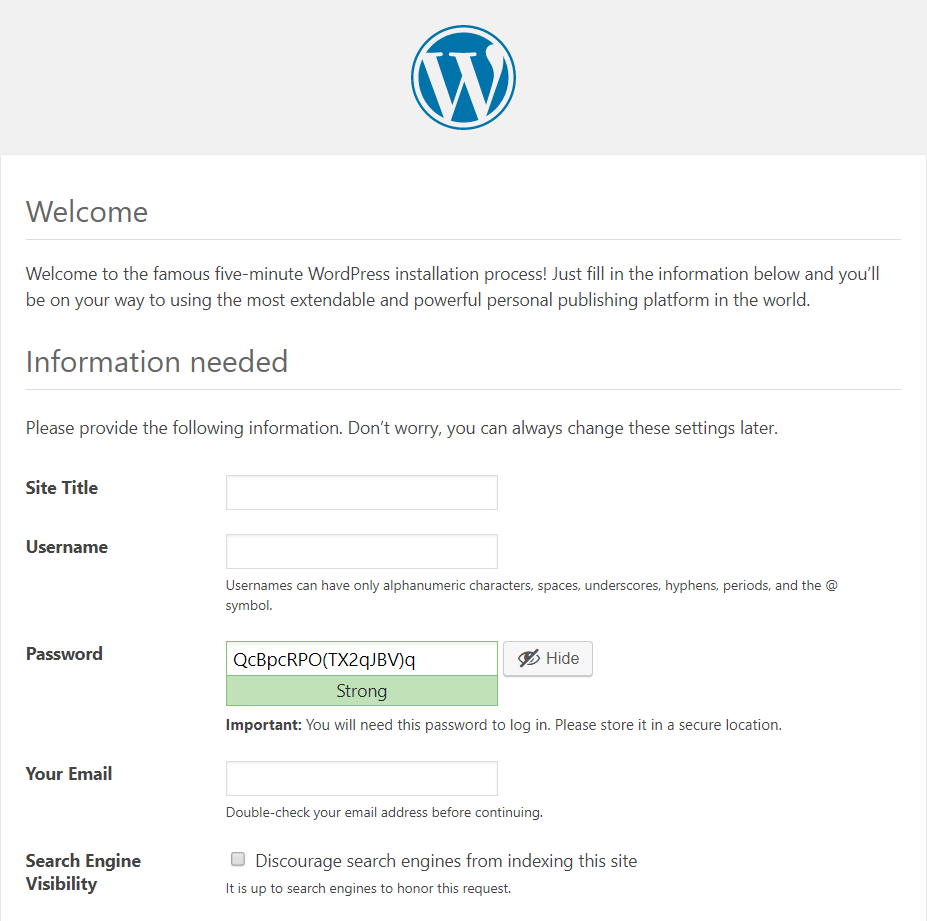
sed -i "0,/put your unique phrase here/s//$(uuidgen -r)/" /var/www/html/wp-config.php; doneWith wp-config.php fields fully filled, you can go to server's IP address and follow remaining WordPress installation steps (e.g. site title and similar details).
PS: While this is guide for Linode and CentOS, it should also work with other Linux flavors provided you swap httpd for apache.
This require quite a time and efforts. Why not automate the process using tools, like Cloudways hosting platform. This seems like a better option. This platform lets you launch a managed linode server and install WordPress on it without manually setting up OS and stack. Just select WordPress and server resources and launch.
I find it is always better to understand what is needed to do it manually.
Then it is easy to use managed services. :)